How to do RLT?
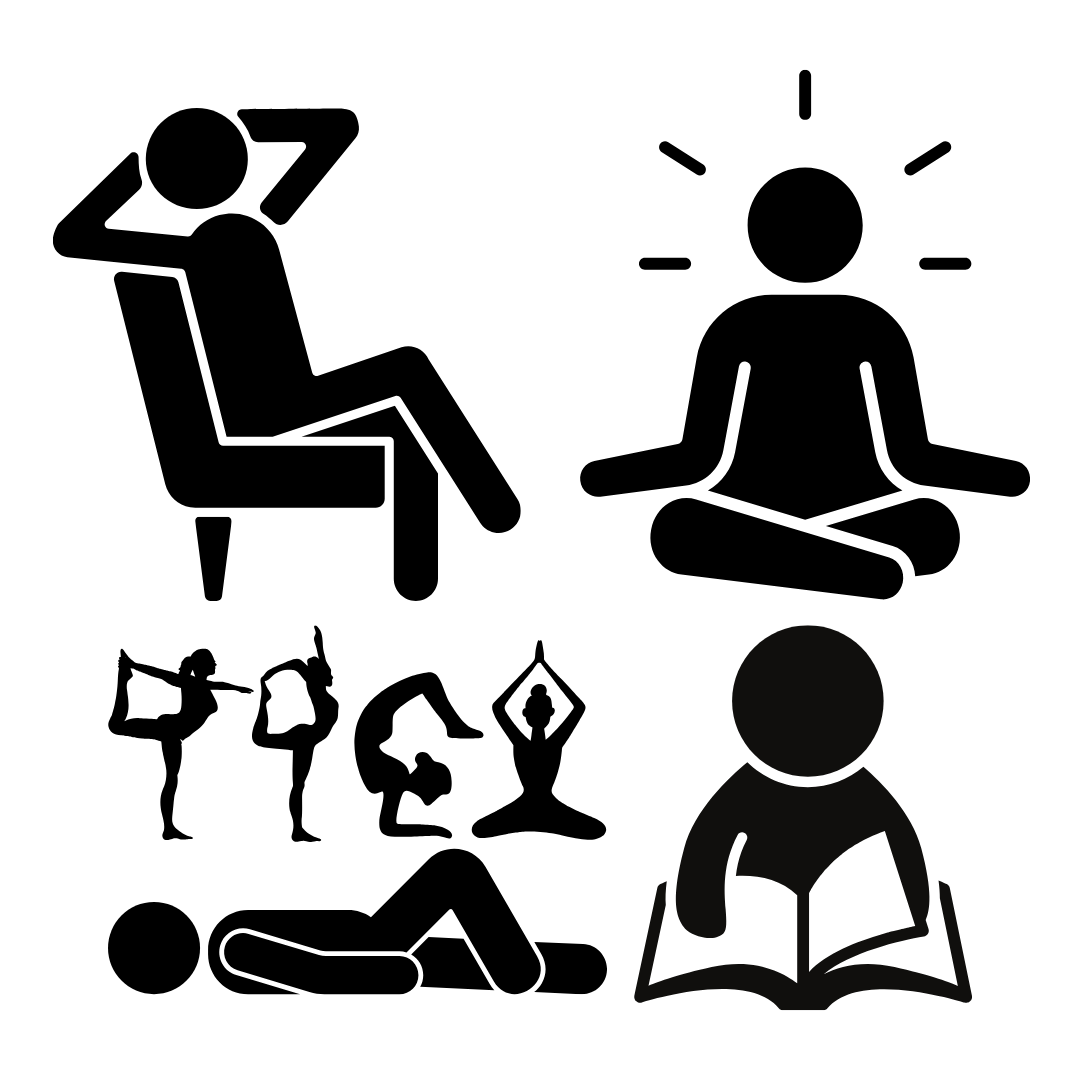
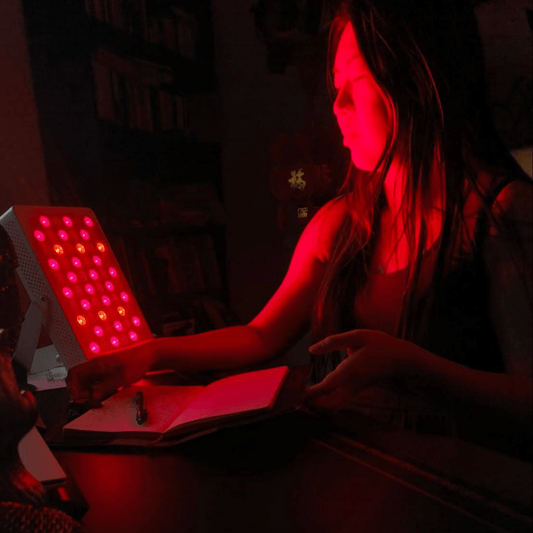
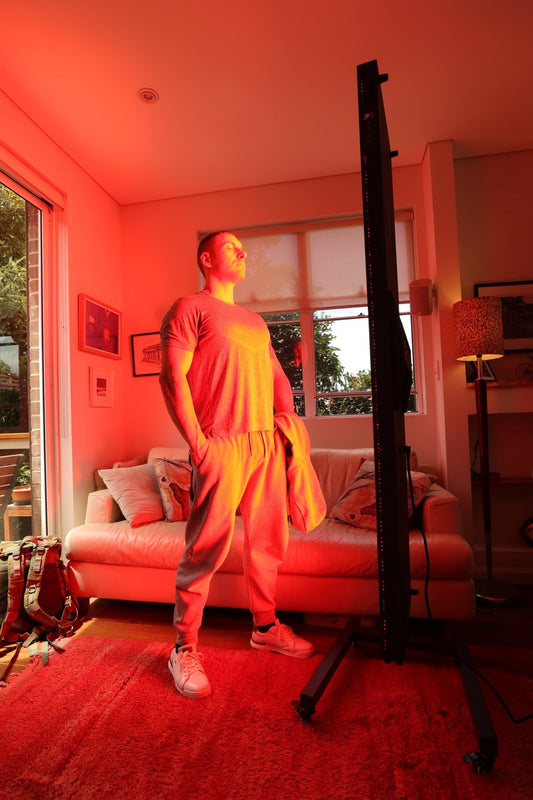
It’s easy to incorporate red light therapy into your lifestyle because it’s a passive activity. For example, you can sit, stand or lie in front of your panel while working at your computer, doing yoga, meditating or even streaming shows.
Below are simple step by step instructions for both panels and direct on skin devices to help you get started:
Panels
Step 1
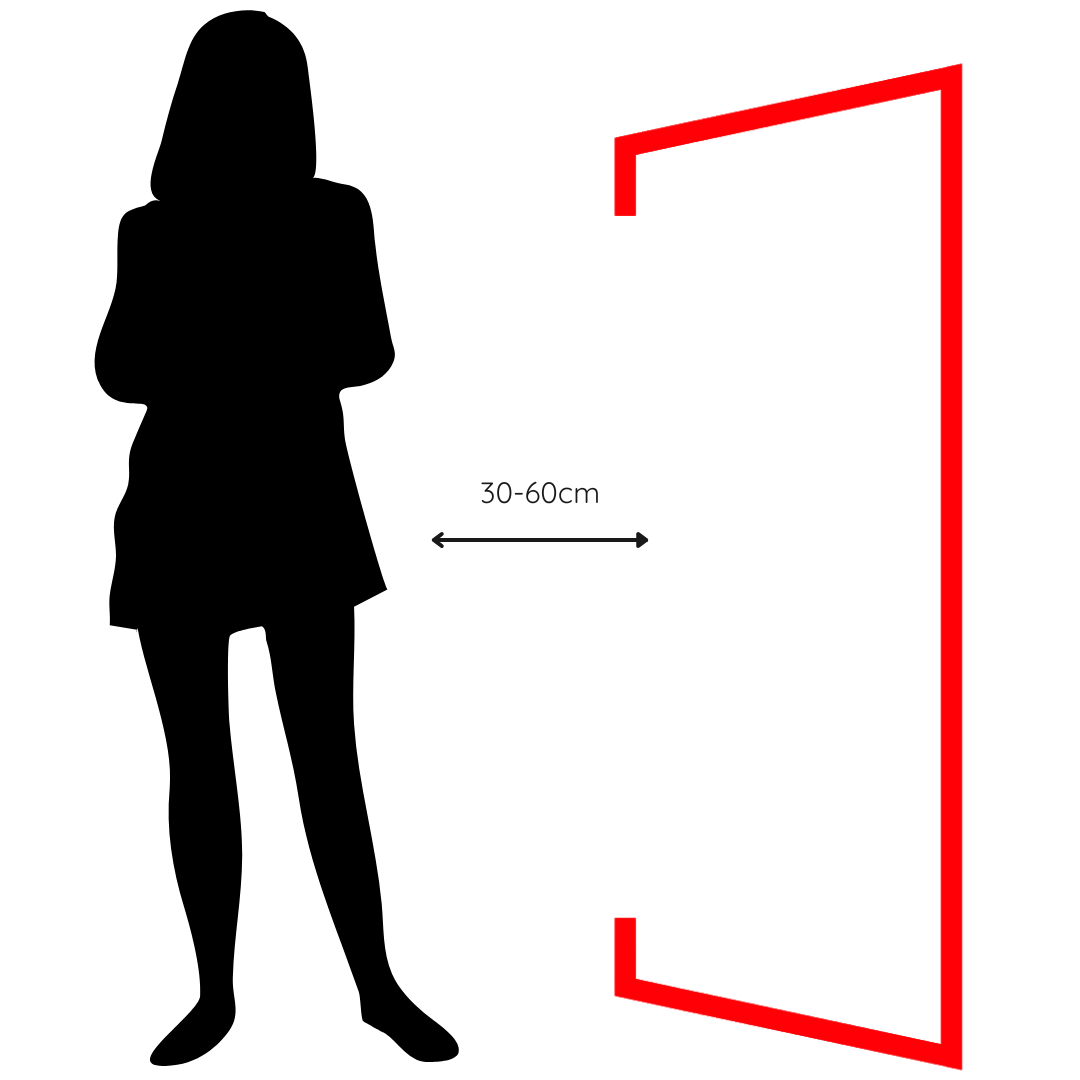
Use our Dosage Estimator to calculate a distance and length of time which suits your lifestyle and goals, then find a a comfortable position in front of your panel (you get the most even coverage being 7.5-15cm away for HeroPanels Elite™ and 15-30cm for original HeroPanels™)
Step 2
Ensure nothing will obstruct the light i.e. don't wear clothes!
Step 3
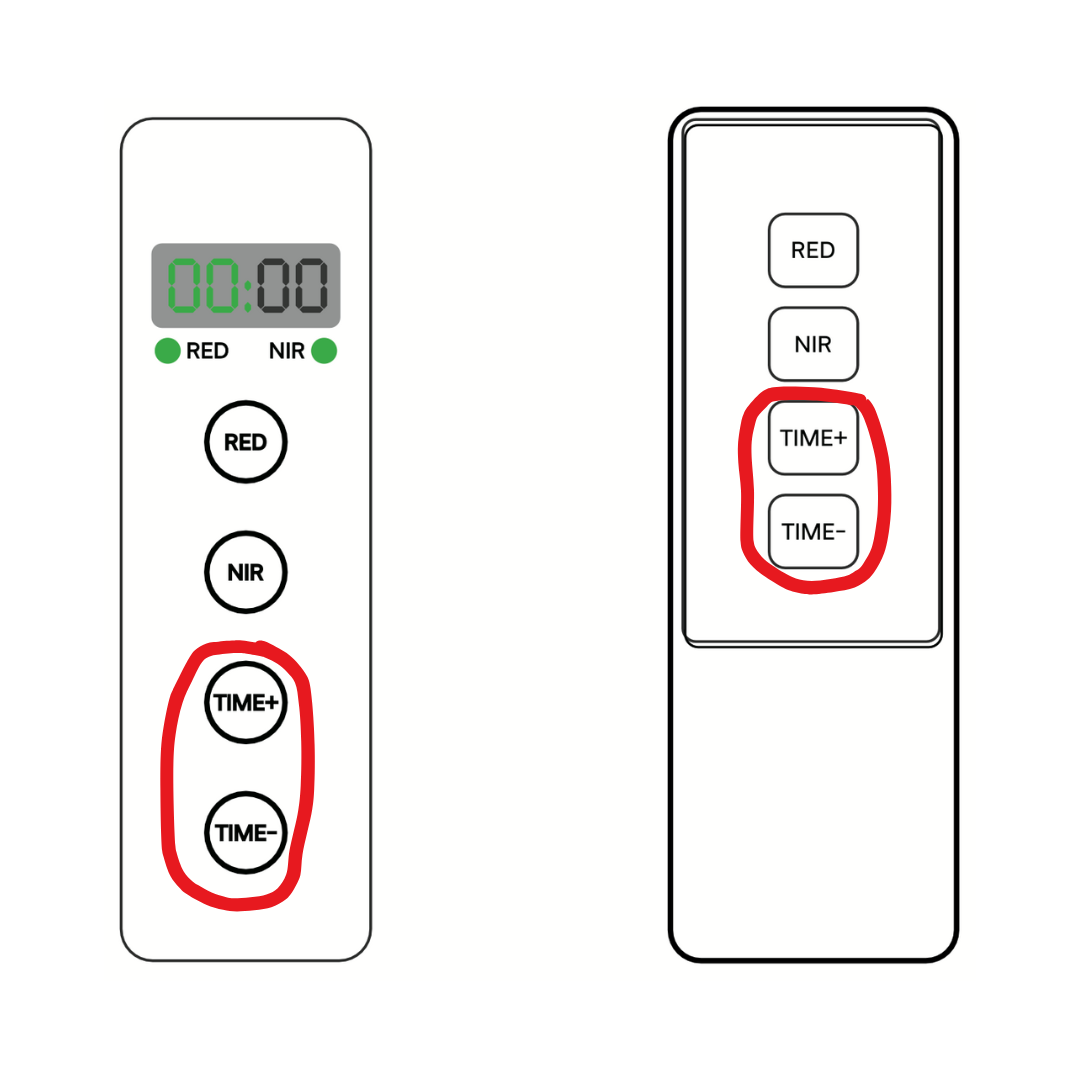
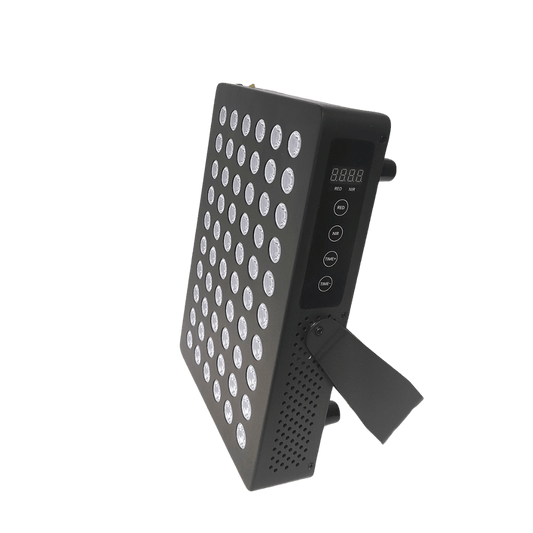
Use the “TIME+” and “TIME-” buttons to set the timer to the duration shown in the Dose Estimator
Step 4
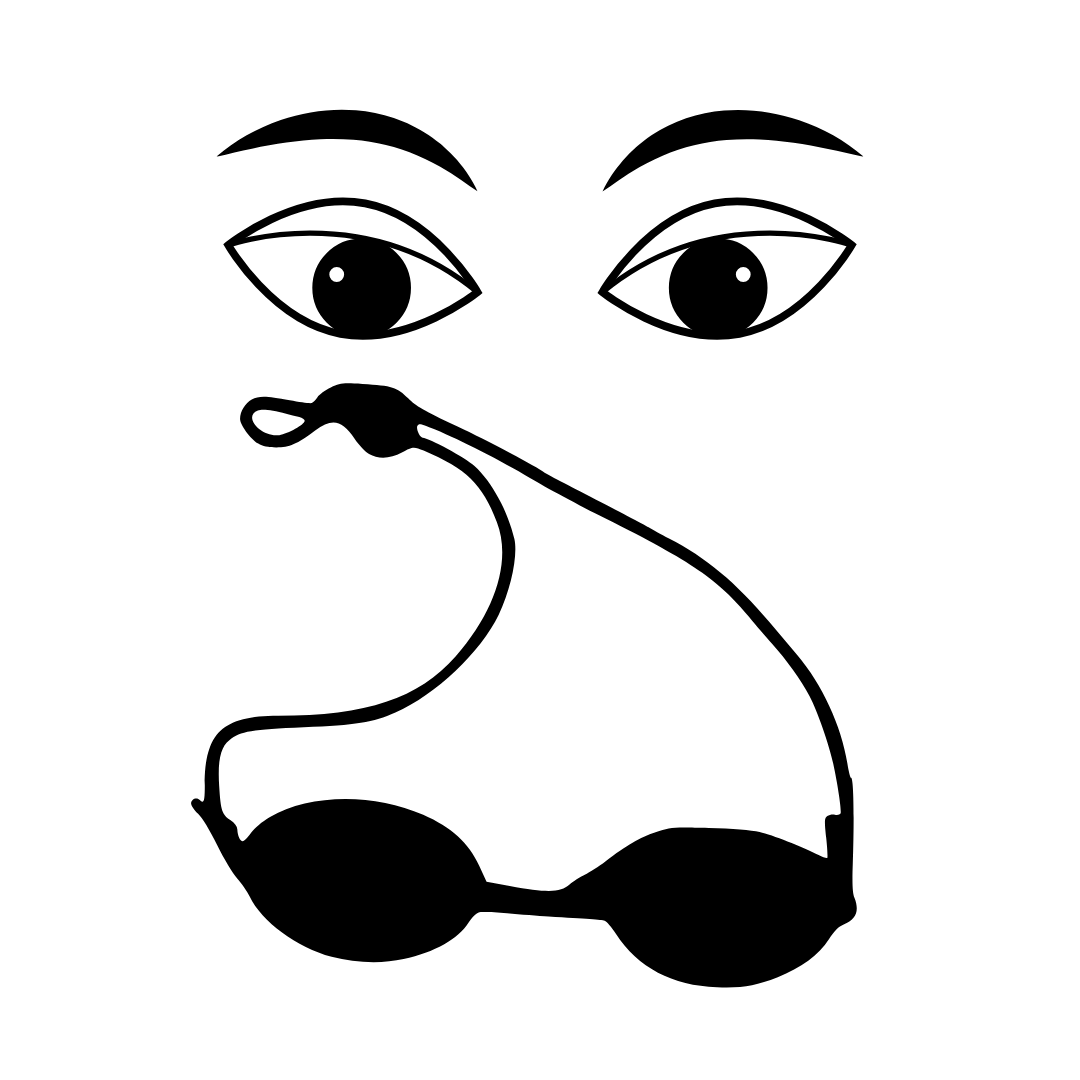
While many studies show red light therapy can improve vision and a major scientific review analysing over 6,000 studies found no evidence of harm, this is a sensitive area and medical views are not unanimous. For this reason we provide protective goggles so you can make an informed decision with guidance from your healthcare provider as of whether to wear the goggles or not³

Step 5
Press the "RED" and "NIR" buttons to turn on all wavelengths
Step 6
Relax and enjoy the warmth and good vibes - the panel will automatically turn off after the timer you set finishes
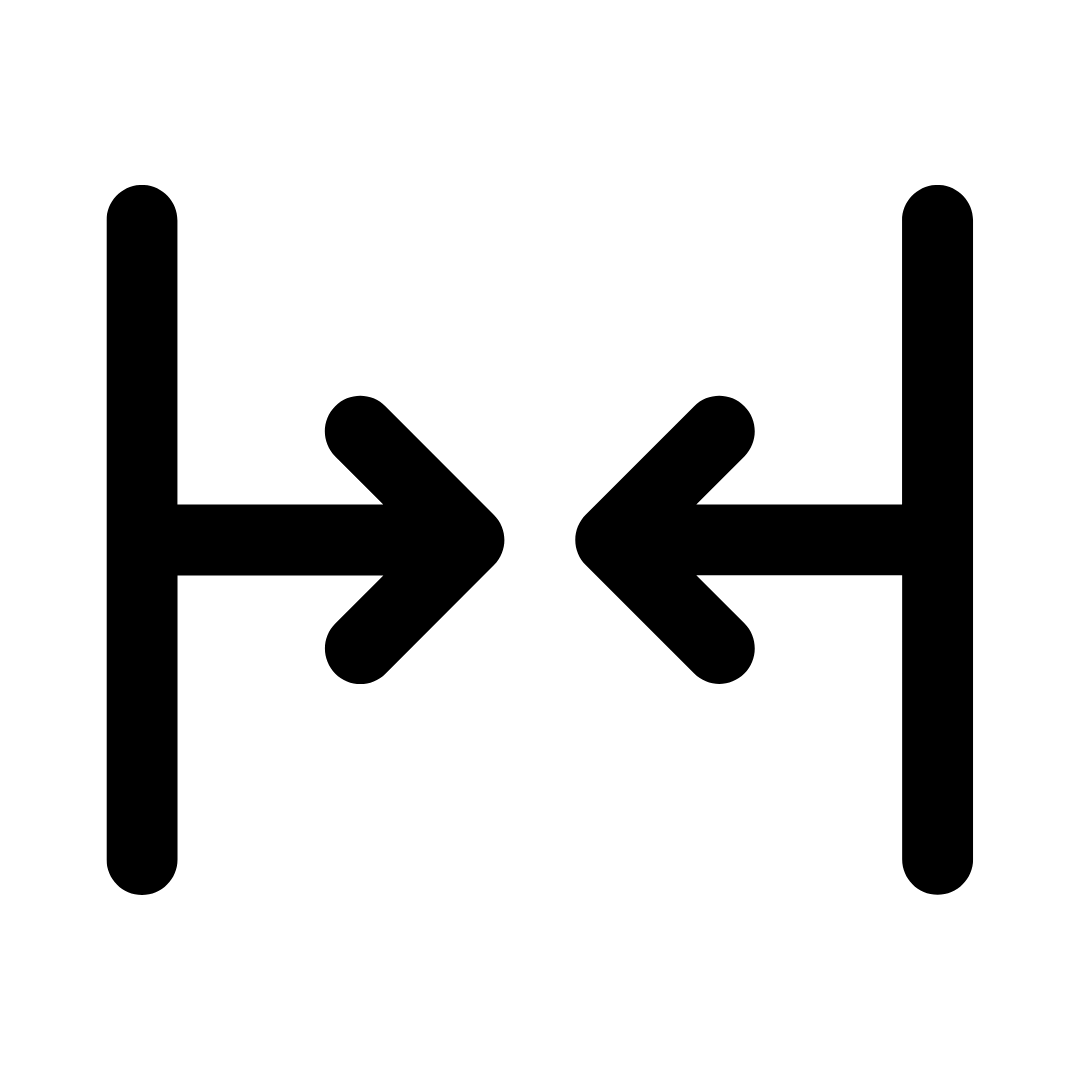
How far away should my panel be?
HeroPanels Elite™ users: 6"/15cm for maximum uniformity, 3"/7.5cm if you don't have much time
HeroPanels™ users: 12"/30cm for maximum uniformity, 6"/15cm if you don't have much time
Keep reading to learn why.

The ideal distance is the point where the beams from multiple LEDs overlap smoothly, so every part of the area you’re treating gets a similar dose instead of some spots being blasted and others barely hit.

This matters even more with HeroPanels Elite™ because the equal distribution 10-wavelength design means each colour has fewer LEDs and more spacing; beam overlap is what blends them into a uniform field.

Thanks to the wide 60° lenses, HeroPanels Elite™ reach full multi-LED overlap at around 6"/15 cm, giving perfect smoothing and wavelength mixing at a comfortable close range. You can also use 3"/7.5 cm for smaller areas or when in a rush, while 12"/30 cm is optional for users wanting to illuminate particularly large region or run a gentler, low-irradiance session - but it isn’t required for evenness because that is already achieved at 6"/15cm.
Original HeroPanels™ with 30° lenses need to sit over twice as far away to achieve the same level of blending, which is why their “perfect evenness” distance is closer to 12"/30 cm, with typical use ranging from 6"/15 cm to 18"/45 cm depending on body size.
What makes the 60° Elite™ optics superior is that achieving this perfect evenness closer to the body means far more of the light actually reaches your skin instead of spilling past your sides or lighting the room. At 7.5–15cm, your body occupies a much larger fraction of the beam, resulting in higher capture efficiency, fewer reflections, and far less wasted light compared with using a narrower 30° panel at 12". This is one of the key reasons we upgraded to 60° lenses when designing HeroPanels Elite™: wider optics deliver better blending and ensure more of the emitted energy is used effectively.
Once you’ve chosen the distance that gives you the coverage you want, select that same distance in the Dosage Estimator – it will then tell you how long to stay there to hit the right joules to reflect research conducted on your goal³.
Tip: If you're short on time, lowering the distance can help you reach a high dosage quicker at the expense of evenness, but many studies show red light therapy to be effective even at low doses so don't stress about this!
Shop Panels & Stands
-
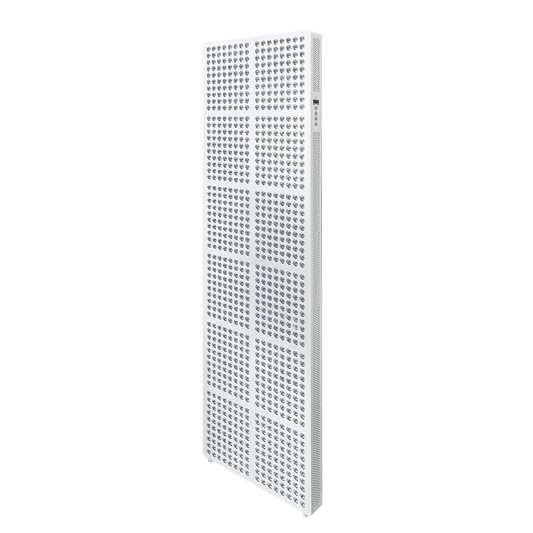
HeroPanels Elite™ 10 Wavelength Red Light Therapy Panel
Regular price From $999.00 AUDRegular price$1,199.00 AUDSale price From $999.00 AUDSale -
Hero60™ Tabletop Red Light Therapy Panel
Regular price $799.00 AUDRegular price$999.00 AUDSale price $799.00 AUDSale -
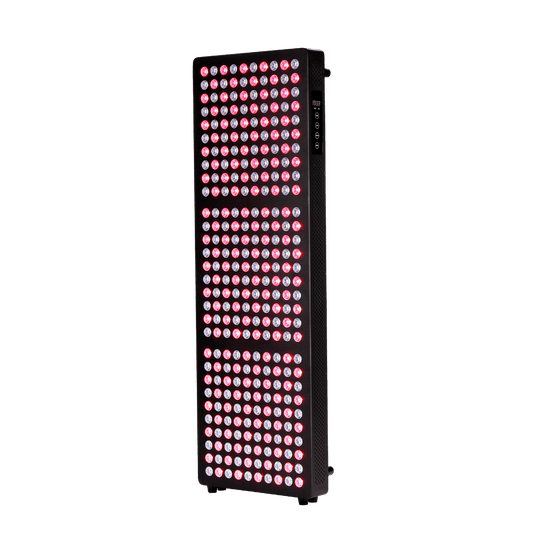
Hero300™ Red Light Therapy Panel
Regular price From $1,899.00 AUDRegular price$2,199.00 AUDSale price From $1,899.00 AUDSale -
Hero960™ Red Light Therapy Panel
Regular price From $4,799.00 AUDRegular price$4,999.00 AUDSale price From $4,799.00 AUDSale


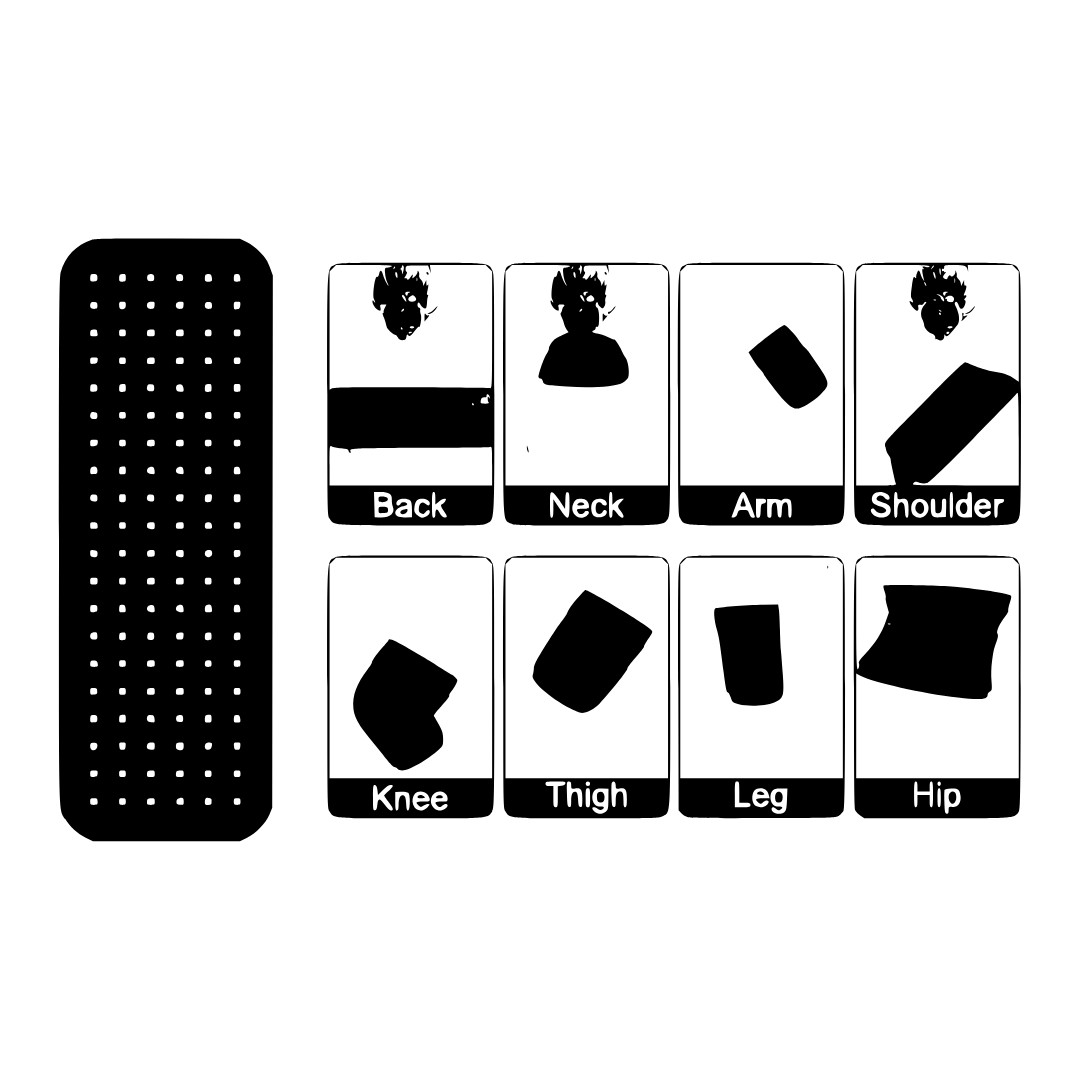
Tip: Don’t forget to treat your back, sides and other hard-to-reacch parts of your body!
Direct on Skin Devices
Step 1
Remove any clothes from the area you are looking to treat
Step 2
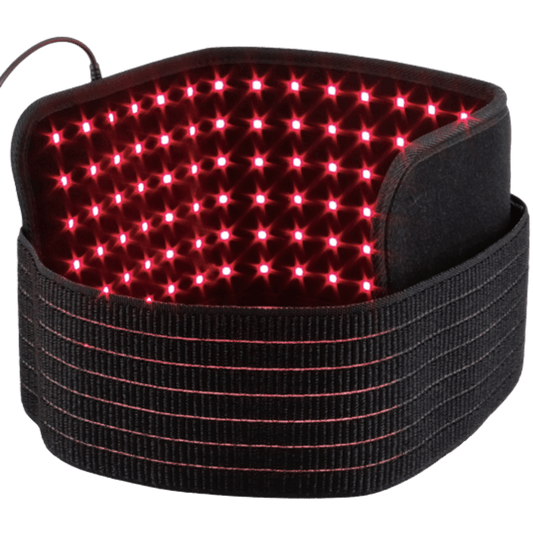
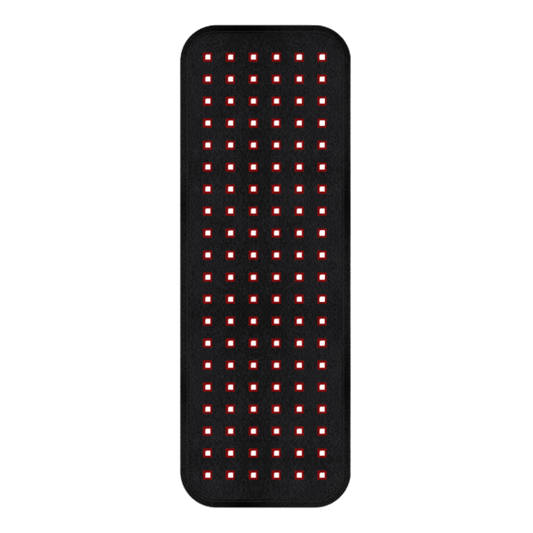
Wrap, place or otherwise position your HeroBelt, HeroHat, HeroMask or other device directly on your skin
Step 3
Use any straps to gently affix the device so it does not become loose and fall off
Step 4
Ensure the device is connected to an appropriate power supply (controller, power bank or wall socket - varies from product to product)

Step 5
Turn the device on and select your desired mode
Step 6
Relax and enjoy the warmth and good vibes - the default timer settings for direct on skin devices provide appropriate energy exposure so there is no need to adjust this - once the timer is finished you have completed your session and can remove the device
Shop Direct on Skin Devices
-
HeroBelt™ Red Light Therapy Belt
Regular price $399.00 AUDRegular price$449.00 AUDSale price $399.00 AUDSale -
HeroSnug™ Red Light Therapy Sleeping Bag / Dual Mat Pod
Regular price $1,899.00 AUDRegular price$1,999.00 AUDSale price $1,899.00 AUDSale -
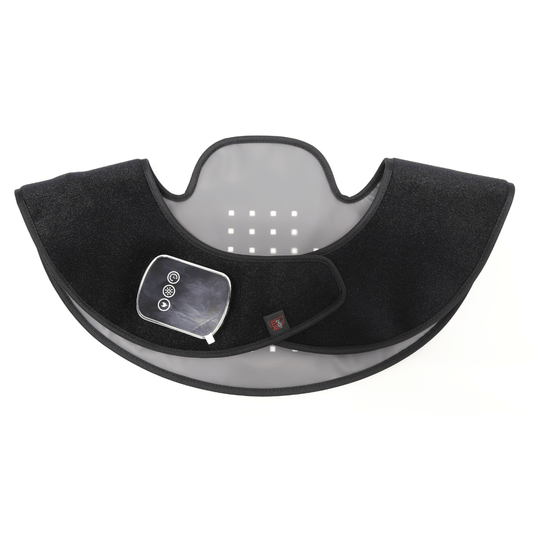
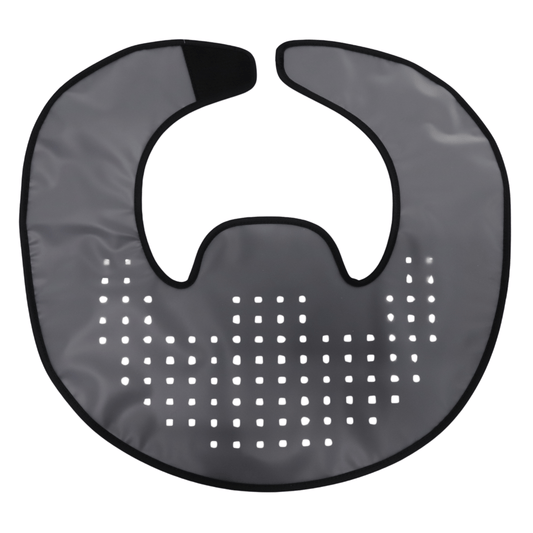
HeroNeck™ Red Light Therapy Device for Upper Back, Neck and Traps
Regular price $399.00 AUDRegular price$399.00 AUDSale price $399.00 AUDSold out -
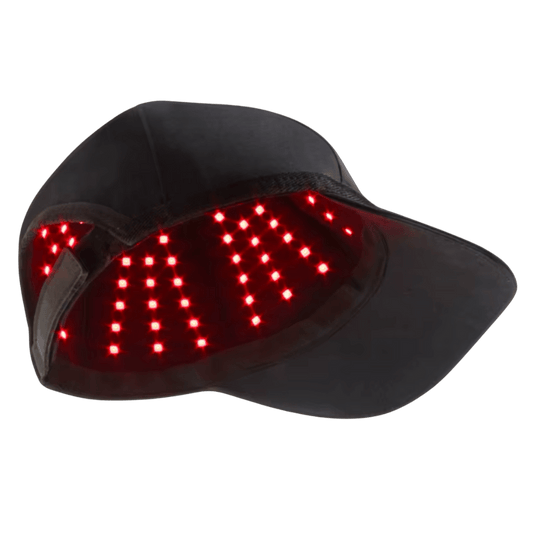
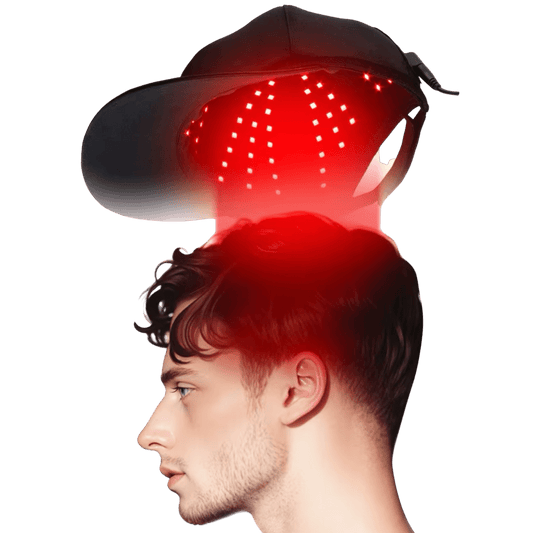
HeroHat LED™ Red Light Therapy Hat
Regular price From $399.00 AUDRegular price$449.00 AUDSale price From $399.00 AUDSale

Tip: Doing red light therapy at the same time as another regular routine will make it much easier to do consistently e.g. wear your HeroMask Elite each time you do your daily meditation
You could try red light therapy while you:
-

Work
-

Rest in bed
-

Stretch
-

Meditate
-

Lift weights
-

Read
-

Do cardio
-

Practice yoga
-

Stream shows
-

Relax in a chair
-

Eat
-

Use acupressure mats


Should you choose a panel or a direct on skin device?
Both panels and direct on skin devices can be effective red light therapy products. Which is best for you depends on your goals, budget and what will most smoothly integrate into your lifestyle.
Discover the best device for you by following our 6 Step process for choosing a red light therapy device.

You might like:
-
HeroPanels Elite™ 10 Wavelength Red Light Therapy Panel
Regular price From $999.00 AUDRegular price$1,199.00 AUDSale price From $999.00 AUDSale -
Hero60™ Tabletop Red Light Therapy Panel
Regular price $799.00 AUDRegular price$999.00 AUDSale price $799.00 AUDSale -
Hero300™ Red Light Therapy Panel
Regular price From $1,899.00 AUDRegular price$2,199.00 AUDSale price From $1,899.00 AUDSale -
Hero960™ Red Light Therapy Panel
Regular price From $4,799.00 AUDRegular price$4,999.00 AUDSale price From $4,799.00 AUDSale